
Article: How To Do Your First Frontside 180 On A Snowboard
How To Do Your First Frontside 180 On A Snowboard
Why Is It Called "Frontside 180”?
It's called a frontside 180 because the front side of your body is facing downhill throughout the 180 degrees of rotation, instead of “backside” where your back faces downhill while rotating. Backside 180’s are a bit more challenging for most snowboarders.
How to Start:
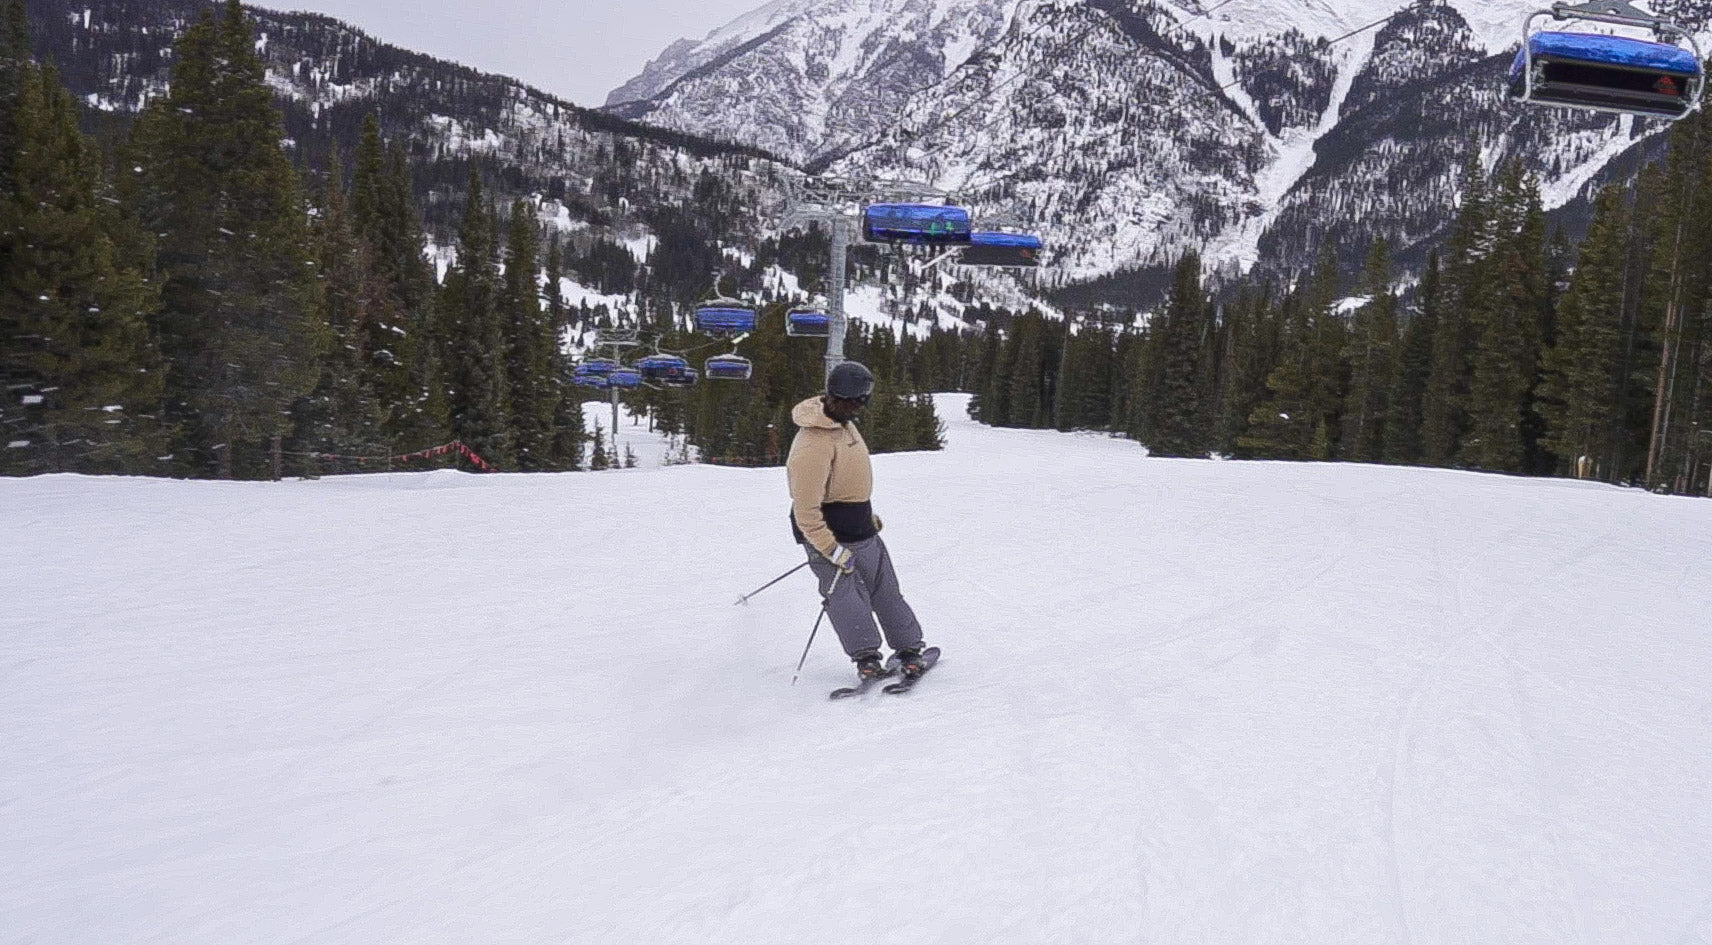
First, you want to be comfortable riding “switch” (with your opposite foot forward). This should be practiced ahead of time.
Once you feel comfortable riding switch, find a low angle slope, and start by sliding 180's on the snow.
Steps to slide a frontside 180 on the snow:
- Engage your heel edge with the snow, moving into a "snowplow" position
- Initiate your heelside turn
- Continue rotating until you're riding the opposite way down the slope
- You're now riding “switch”
- To switch back to your regular stance, repeat the process, doing a “cab 1” or “switch frontside 180”
*Note* your board should never leave the ground.
Adding Some Momentum
While you're sliding the Front 180 on snow, it's a good time to add some rotational movements with your upper body. The key is to wind up, then swing your shoulders and arms into the turn to create the momentum required for the 180. To wind up, start with your shoulders pivoted back the opposite side you are rotating, then carry that momentum through center over to the otherside into your frontside 180.
To step it up - try taking some weight off your board by slightly extending your knees, but keep the board in contact with the snow. This technique allows you to get comfortable with the feeling of jumping a front 1, without actually leaving the ground.
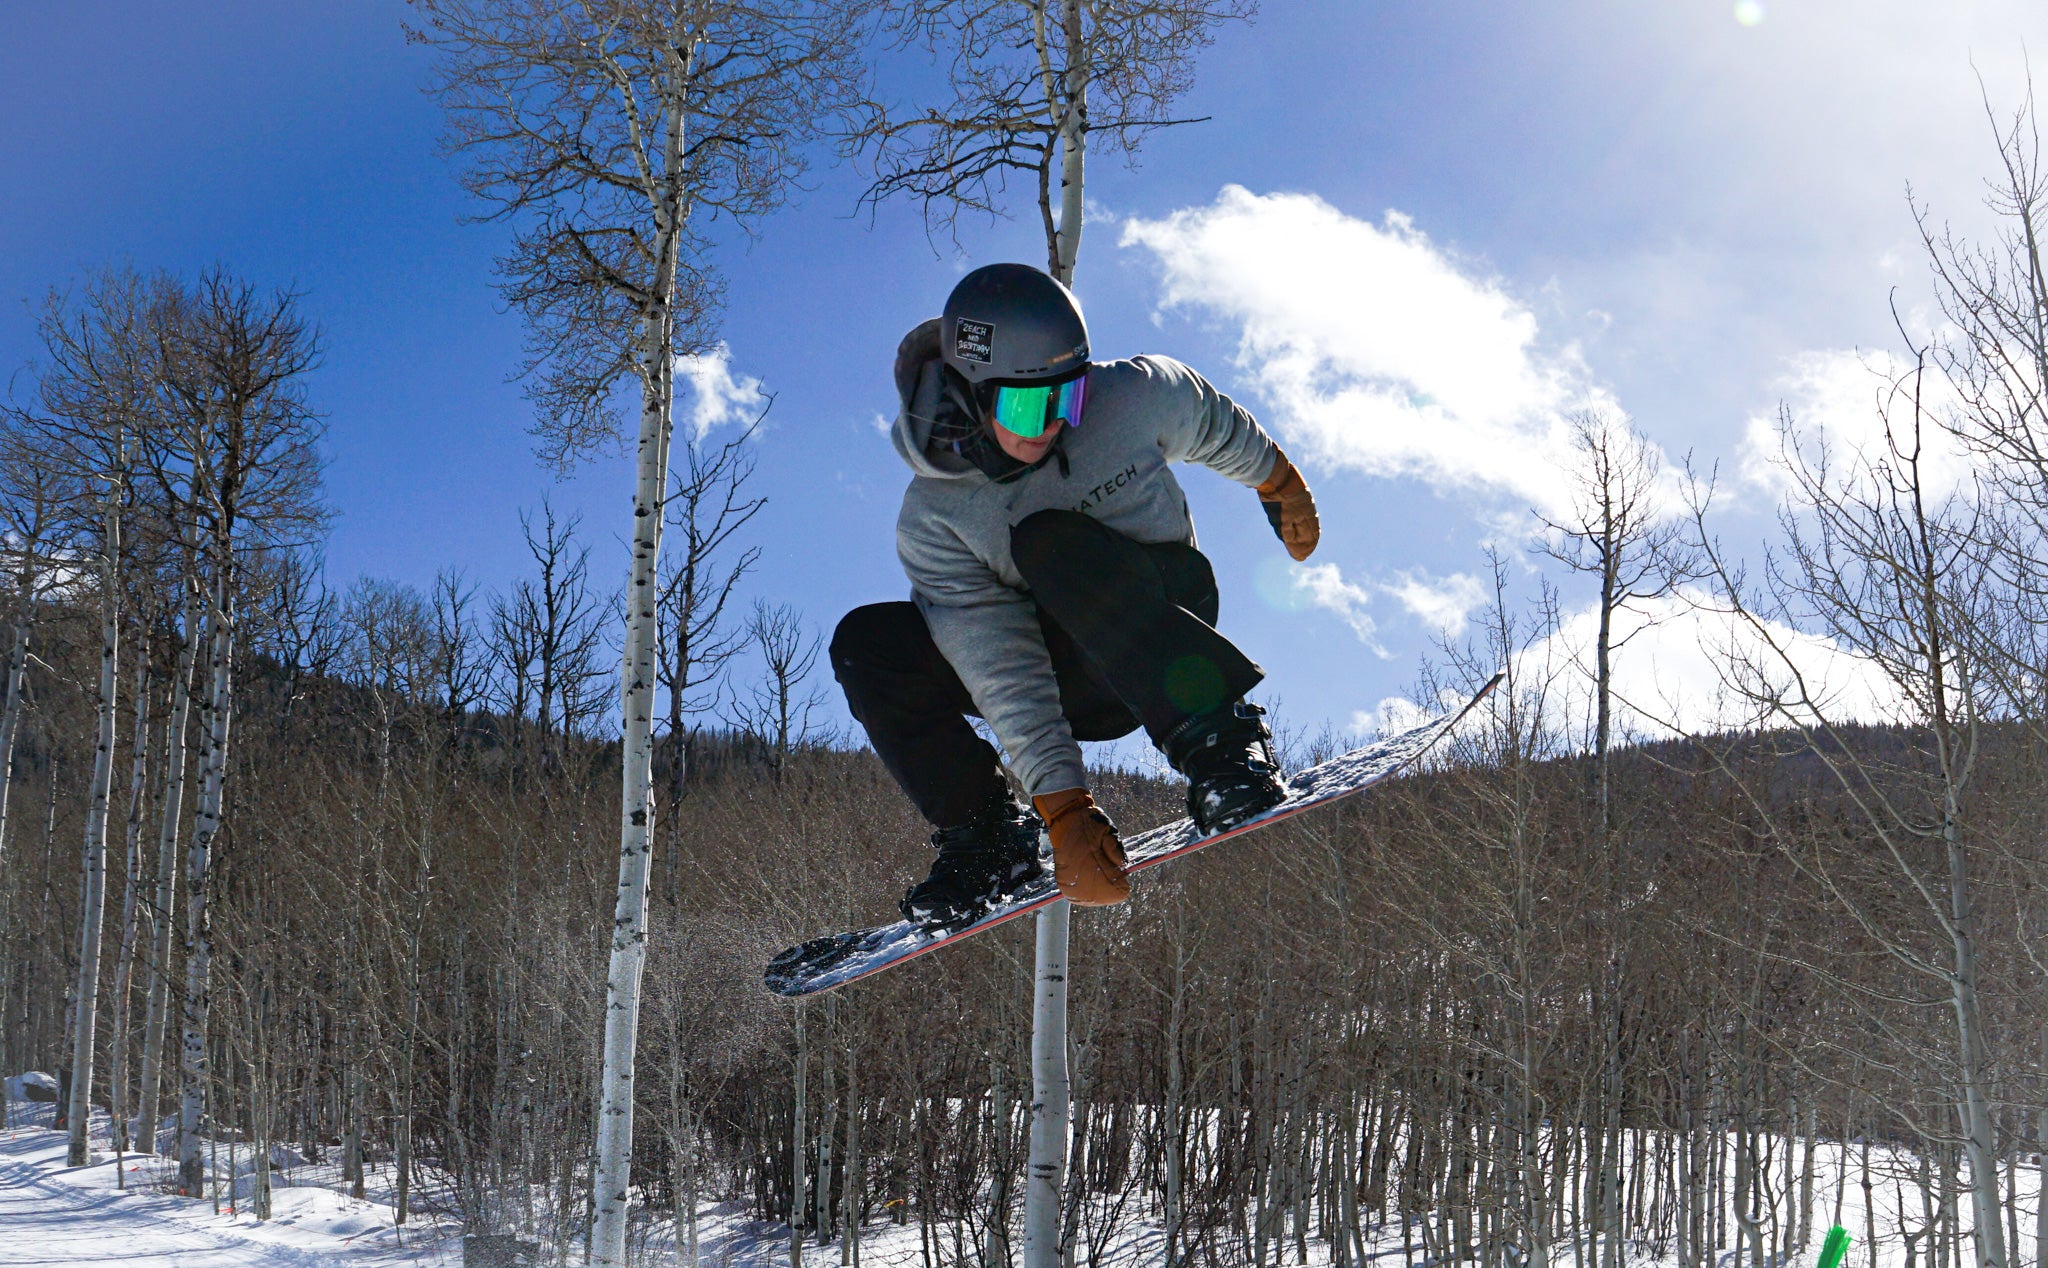
Adding Some Air Time
As you get better with your surface Frontside 180’s on the snow, you can then add pop by extending your legs as you leave the takeoff. The more height results in needing less rotation throughout your spin, meaning you can spin a bit slower. Your 180's will come around easier and it will make them look floaty, and stylish.
As you're adding some air time, always remember to absorb your landings by bending your knees to help cushion your landings, landing with straight legs may make you unbalanced and unstable.
You can practice these by finding small bumps in the snow, or rollers to grab some air time off of.
Side Hits are Key
Side hits are little hips, or “jibs” on the side of a trail. Side hits are a jump or berm that you approach on an edge and are a great place to try your first frontside 180’s with some air time, plus the landings may be a bit softer than off a jump in the terrain park. They're a fantastic place for frontside 180's because approaching the side hit on your edge gives you some grip in the snow, which is essential for all spin tricks.
Tag @AlphatechApparel on Instagram in your first frontside 180’s and leave a comment below if this helped you land your first front 1’s!
Leave a comment
This site is protected by hCaptcha and the hCaptcha Privacy Policy and Terms of Service apply.